The Pressure of Tying Shoes
“Your son is already 5 years old and can’t tie his shoes?!”
Relax. Tying shoes is one of the MOST DIFFICULT fine motor skills. It requires:
- Coordination of both hands (each doing something different!)
- Sequence of movements (10+ steps)
- Finger strength
- Patience
Developmental norms: Most children master tying between 5 and 7 years of age.
When is a Child Ready?
Signs of Readiness:
✅ Can tie a knot on a string/ribbon ✅ Has good hand-eye coordination ✅ Can perform sequences (getting dressed in order) ✅ Shows interest (“I want to do it myself!”) ✅ Has patience for a 5-10 minute activity
Not Ready If:
❌ Has difficulty with simple knots ❌ Gets frustrated quickly with new tasks ❌ Shows no interest ❌ Has fine motor problems (e.g., holding a pencil)
Preparation Before Learning
1. Preliminary Exercises (from age 3)
Bead Threading Thick string + large beads → progressively thinner string + smaller beads
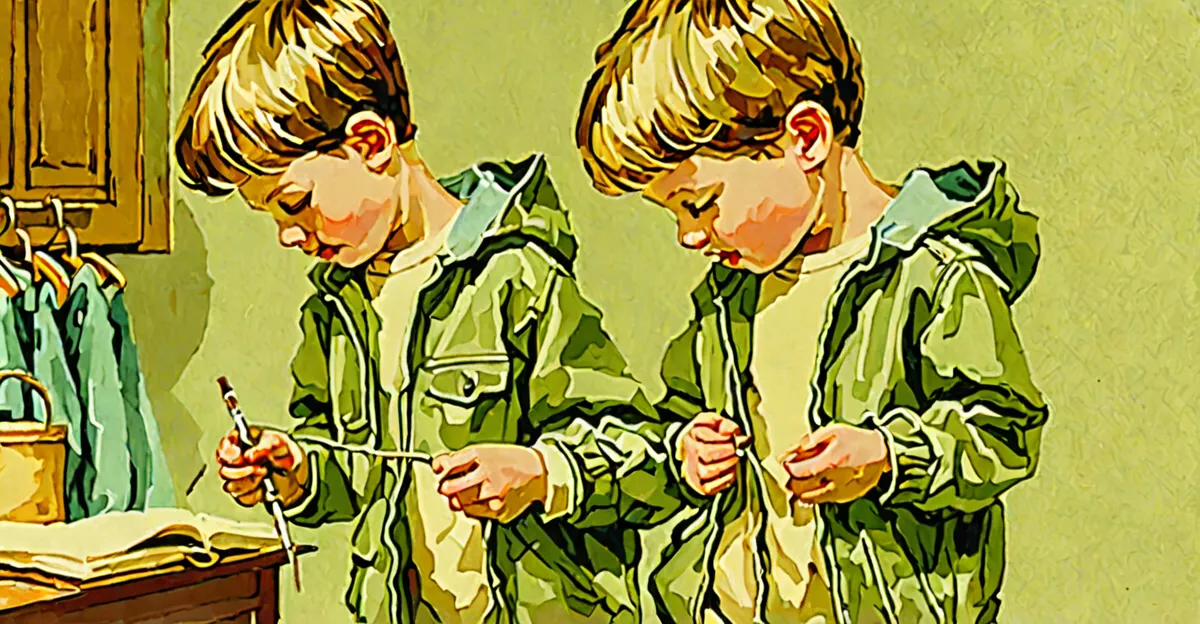
Tying Knots on String “Make a knot on this string” (without shoelaces!)
Dressing Frames Lacing frame (a classic Montessori tool) - practicing basic weaving
Tying Bows on Gifts During birthdays, holidays - a real purpose!
2. Practice Shoes
Don’t teach on shoes WORN by the child (uncomfortable position).
Use:
- An old shoe (larger size)
- A wooden lacing board
- Cardboard with holes
Place shoes IN FRONT of the child (not ON the foot).
Step-by-Step Method
”Bunny Ears” Method (simplest)
This method is symmetrical - both hands do the same thing.
Step 1: Basic Knot
- Cross the laces (X)
- Thread one under the other
- Pull tight
Step 2: Two Loops
- From the left lace, make a “bunny ear” (loop)
- From the right lace, make a second “bunny ear”
Step 3: Cross the Ears
- Cross the loops (like in the basic knot)
- Thread one “ear” under the other
- Pull both ears
Done!
Helpful Rhyme:
My shoes are standing here,
The laces greet each other (cross)
One jumps underneath (knot)
And squeezes tight (pull)

Bunny shows one ear (loop 1)
Second bunny too (loop 2)
They greet politely (cross loops)
Underneath - through the tunnel - hold! (pull)
Learning Sequence (slowly!)
Week 1-2: Observation Only
You tie - slowly, narrating. Child watches.
Week 3-4: Joint Action
You hold, child performs one step (e.g., pulling).
Week 5-6: Partial Independence
Child does first steps, you finish.
Week 7+: Independence with Support
Child attempts the whole thing. You help when needed.
Month 2-3: Reinforcement
Daily repetitions. Less and less help.
Mistakes to Avoid
❌ Too Fast Demonstration
You tie in 3 seconds, child doesn’t see the steps. → Show EXTREMELY slowly.
❌ Tying FOR the Child
“Give it here, I’ll do it faster.” → Wake up 10 minutes earlier.
❌ Teaching on the Foot
Position is uncomfortable, child can’t see well. → Shoe in front of child on table.
❌ Starting Too Early
4-year-old not ready = frustration for both sides. → Wait for signs of readiness.
❌ Impatience
“Come on, it’s simple!” → Simple for you. For the child - rocket science.
Alternatives to Laces
If the child isn’t ready or has motor difficulties - that’s OK!
Velcro Shoes
Great until 6-7 years old. No shame!
Elastic Laces
Replace laces with elastic. Shoe looks “normal” but doesn’t require tying.
Laces with Clip
Tie once, then just fasten the clip.
Slip-On Shoes
Slip-on, pull-on - also an option!
Helpful Materials
Lacing Frame
Wooden frame with laces for practicing weaving. Without the pressure of “shoes”.
DIY: Stiff cardboard with holes + string.
Tying Board
Wooden board in the shape of a shoe with holes and laces.
DIY: Cardboard in the shape of a shoe, hole punch, string.
Real Shoe (larger size)
Old shoe (adult size) - child sees better, practices without pressure.
Motivation
What Works:
- “I see you’re trying hard!”
- “Do you remember? First the knot…”
- “Want to try again or take a break?”
What Doesn’t Work:
- “It’s easy, try again”
- “Your friend can already do it”
- “Come on, faster!”
When to Stop a Session:
- Child gets frustrated
- Crying
- Says “I can’t” repeatedly
→ “Ok, we’ll come back to this tomorrow. Today we’ll wear velcro.”
Action Plan
Age 4-5: Preparation
- Fine motor exercises
- Threading, knots, lacing frames
- NO pressure on tying shoes
Age 5-6: Learning
- When signs of readiness appear
- Slowly, with patience
- Velcro shoes for daily use (for convenience)
Age 6-7: Reinforcement
- Daily repetitions
- Gradual transition to laces
- Celebrating success!
Summary
Tying shoes is not a test of intelligence or a measure of “good parenting”.
It’s a skill that will come - when the brain and hands are ready.
Until then? Velcro shoes are perfect.
And when the time comes - slowly, calmly, with “bunny” loops.
And one day you’ll hear: “Mom, look! I tied it myself!”
That will be the day.
Read also
- Cooking with a 4-Year-Old: 15 Recipes They Can Actually Make
- Eating at the Table: How to Teach a 4-Year-Old Table Manners
- Cleaning with a 4-Year-Old: How to Make Tidying Up Fun
Frequently Asked Questions
My child is 5 and still can’t tie shoes - should I be worried?
No, this is completely within the normal range. Most children master shoe-tying between ages 5 and 7, and some take even longer. Continue with preparatory activities like bead threading and knot-tying, use velcro shoes for daily convenience, and wait for signs of readiness before pushing the skill.
Which method is easiest for young children to learn - bunny ears or single loop?
The bunny ears method is generally easiest because both hands perform the same symmetrical movement, which is less confusing for a developing brain. The single-loop method is faster once mastered but requires each hand to do a different task simultaneously, which is significantly harder for most children under 6.
Should I let my child practice on their own shoes or use a separate practice shoe?
Always start with a separate shoe placed on a table in front of your child, not on their foot. Practicing while wearing the shoe forces an awkward downward angle that makes it much harder to see and control the laces. Once your child can tie confidently on a tabletop shoe, they will transition to tying their own shoes on their feet much more easily.
This article was created based on stages of fine motor development and methods of teaching independence to young children.
Author
Dzieckologia Team
Like this topic?
🏠 Browse all "Practical life" articles